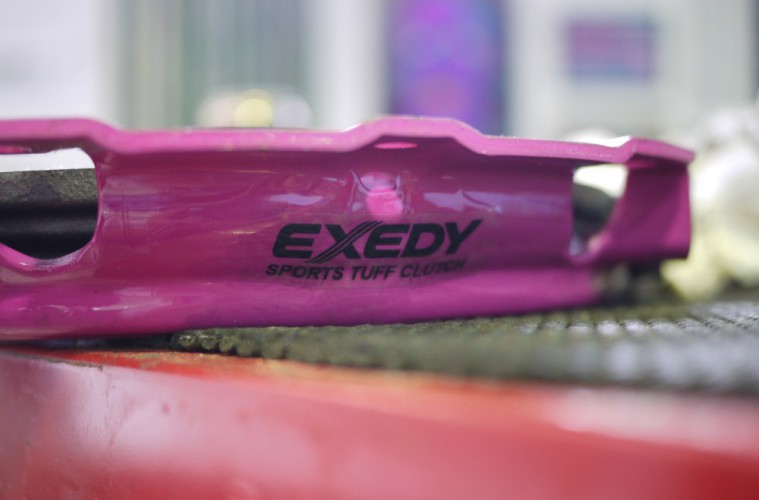
Sick of working on the laptop all day and beer O’clock not coming fast enough, Sean and I thought it was about time we do another FD update. Exedy kindly donated one of their Exedy Sport Tuff clutch for Project FD . So a clutch install was our task for the afternoon.
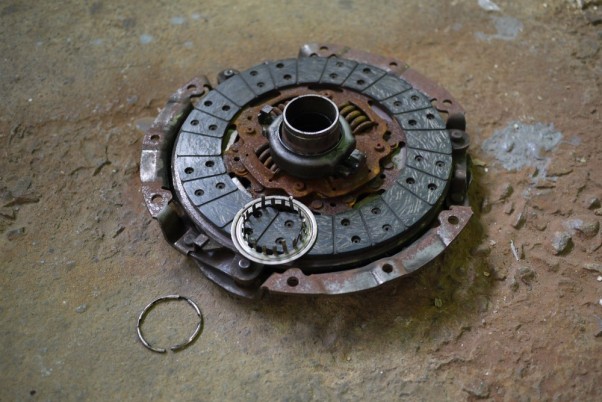
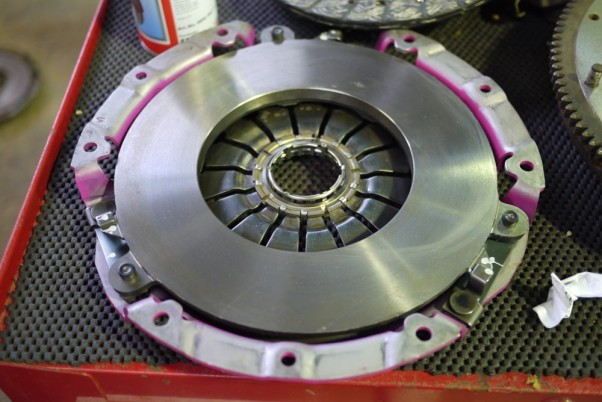
Factory clutch vs New Exedy Heavy Duty Sport Tuff Clutch.
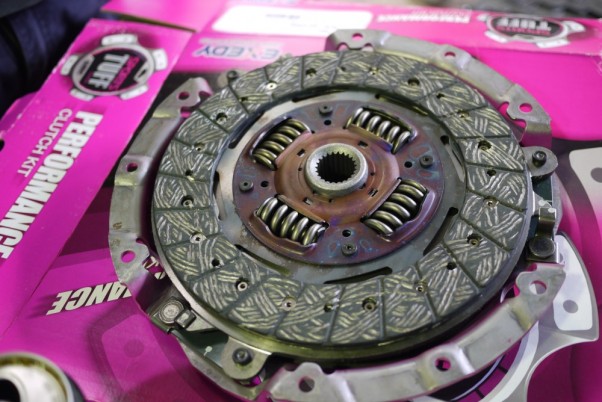
In the box you get : An Exedy Heavy Duty Sports Tuff Clutch pressure plate, an organic clutch disc and new thrust bearing with a locking clip.
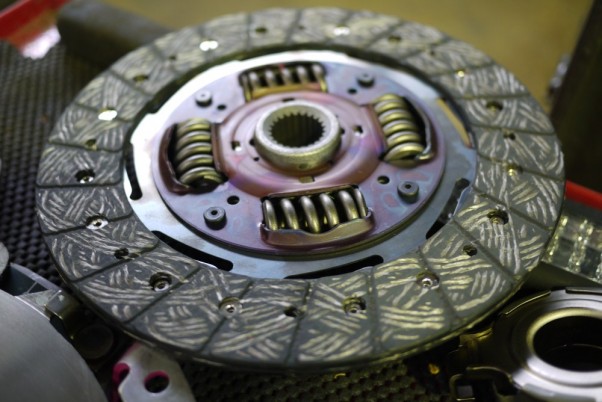
The 13b will remain stock ( for now) so after speaking to an Exedy technician they recommended we go an Exedy Heavy Duty Sports Tuff Clutch. It should be plenty strong for the type of thrashing it will get, plus friendly enough on the gearbox.
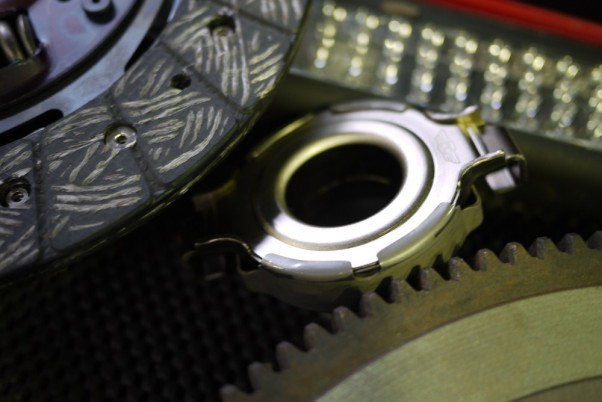
Included in the box was a special set of instructions. For the FD, it has a special lock ring that holds the thrust bearing and pressure plate together. This needs to be taken out before the gearbox can be separated from the block.
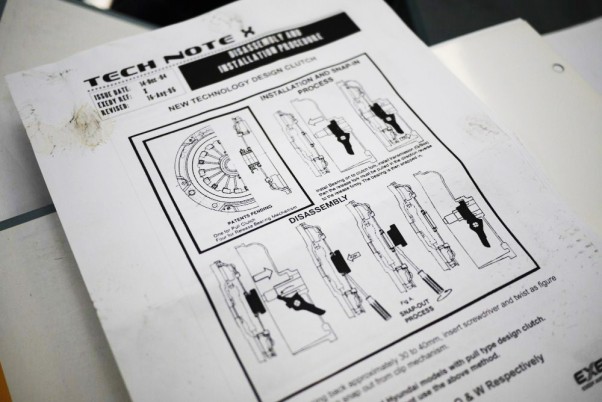
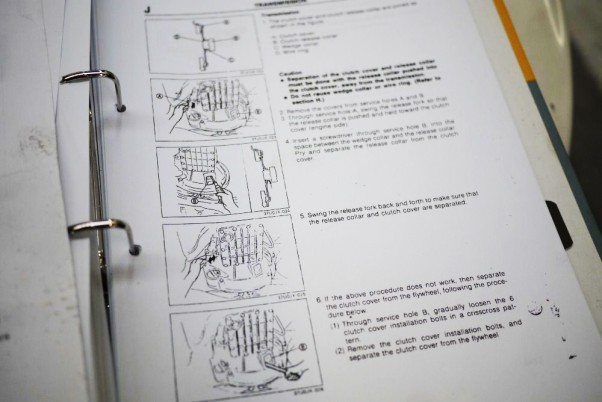
Exedy’s instructions are spot on with the Mazda’s workshop manual!
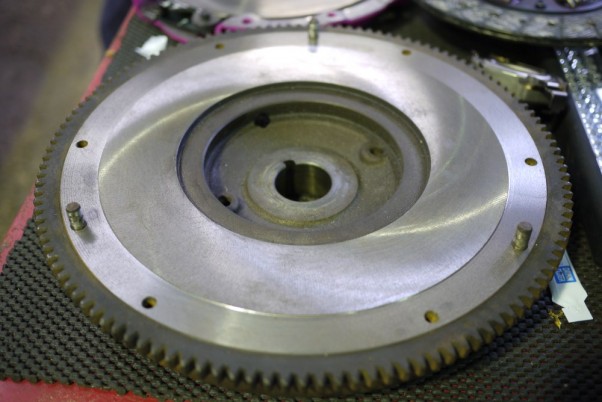
Before the new clutch can be installed, its always good to get the flywheel machined. This helps the give the clutch plate a nice even surface to grab onto.
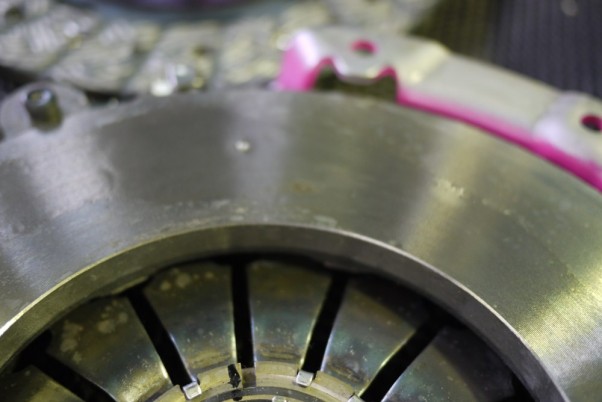
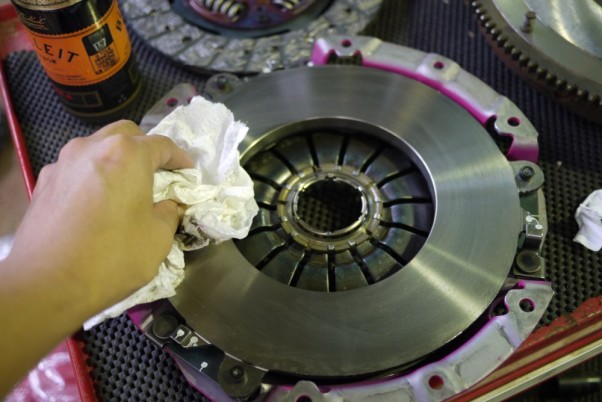
A quick spray with some brake fluid on the pressure plate helps remove any anti-rust coating that is usually applied during the manufacturing stage.
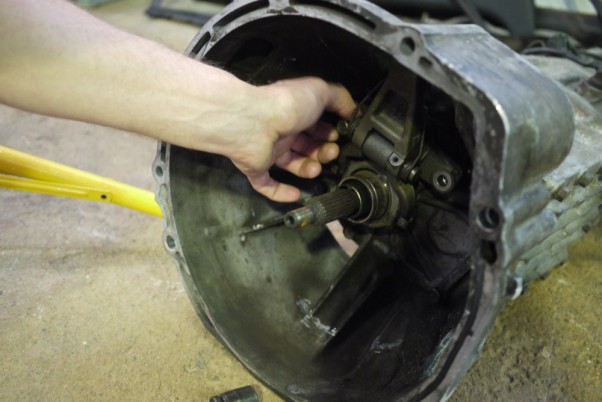
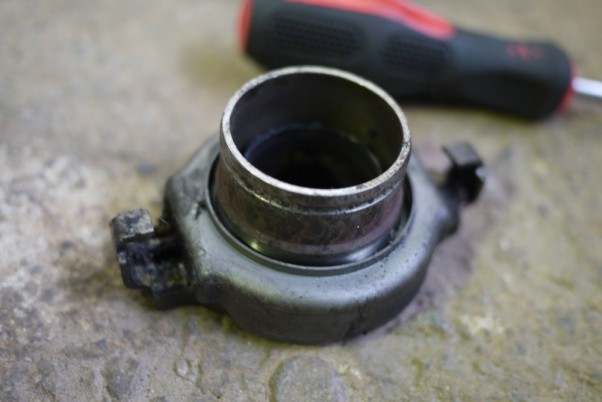
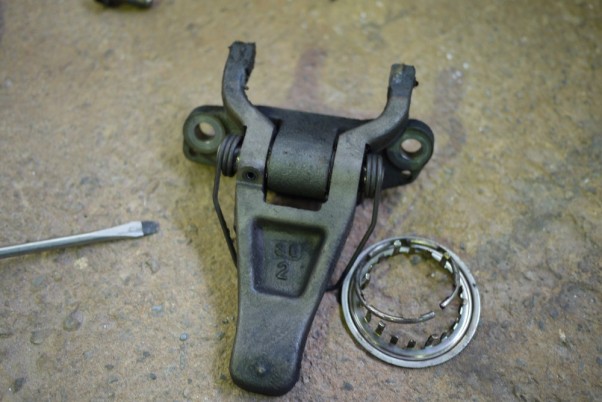
Next we remove the old thrust bearing . This normally require taking out the fork and thrust bearing as one.
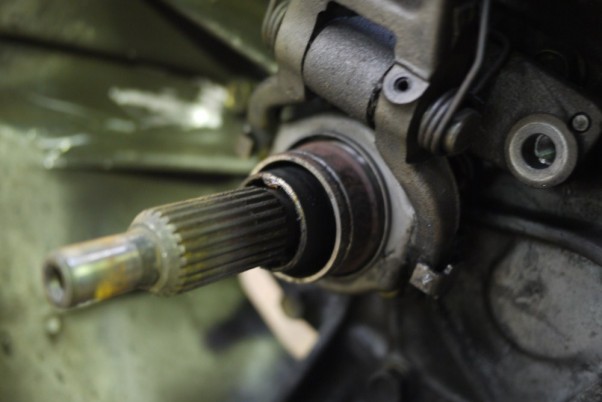
Old one out and the fork is ready for the new thrust bearing supplied in the Exedy kit.
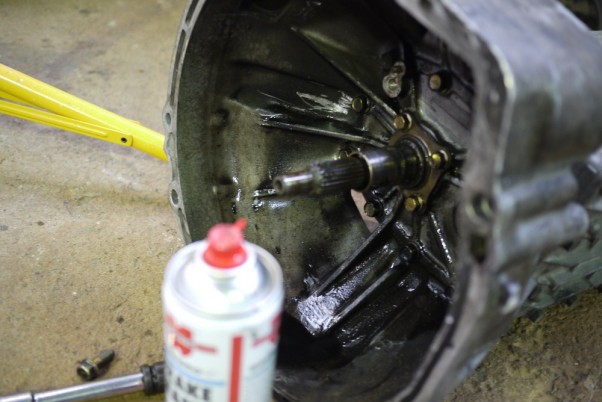
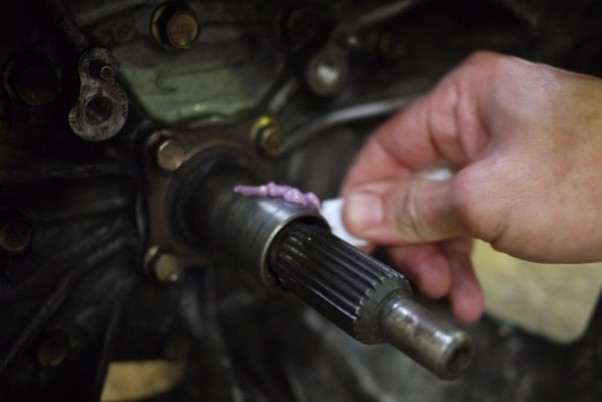
Exedy also supplies a little tube of high temp grease.
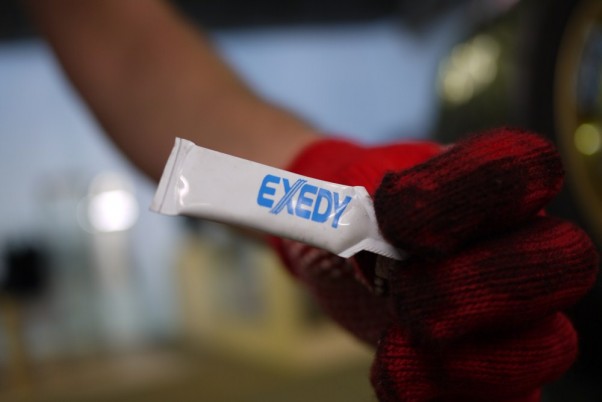
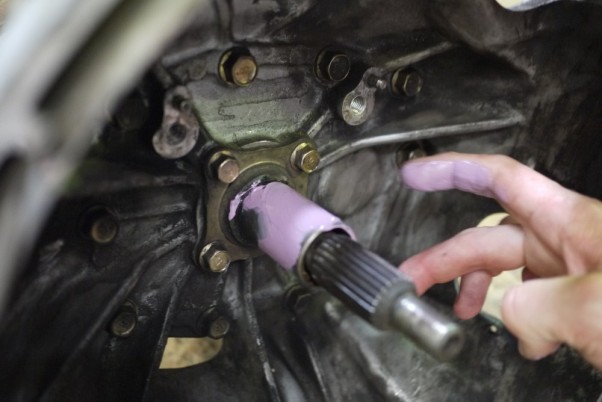
A little squirt of Exedy grease on the main shaft and spread evenly across with your fingers and the new thrust bearing is almost ready to go back on.
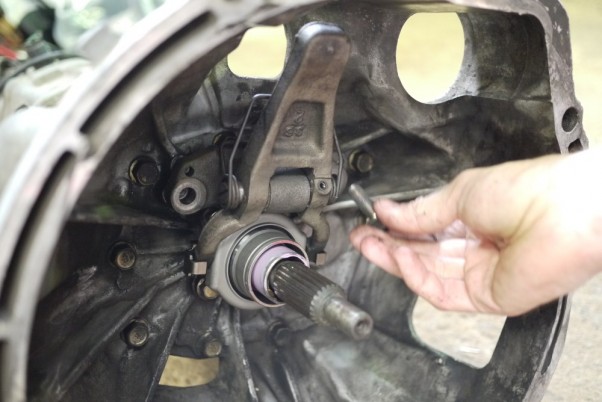
Thrust bearing and fork back on and getting tightened.
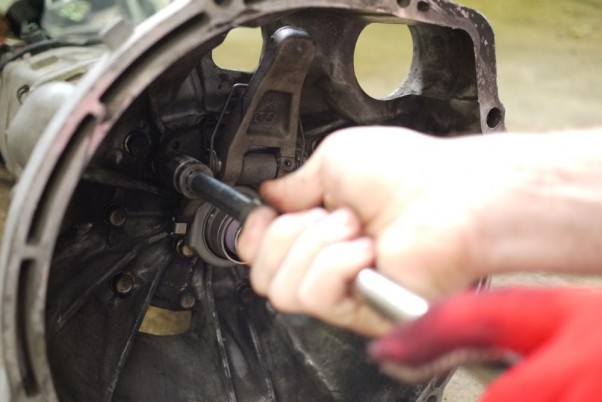
Done! Check and re-check that the thrust bearing slides freely.
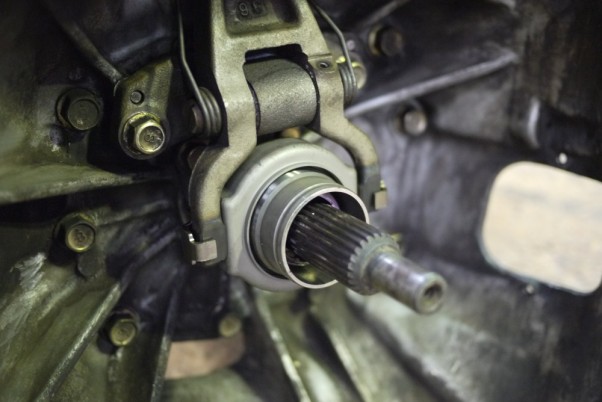
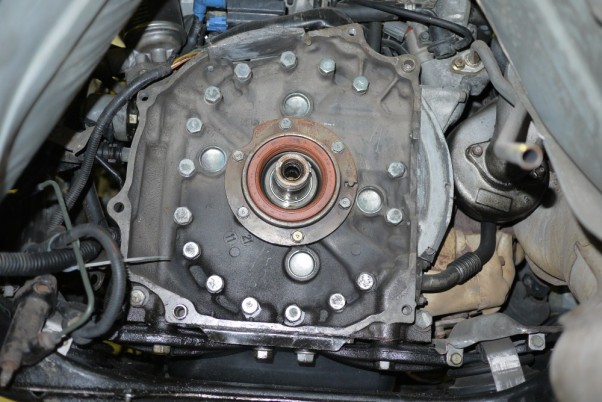
What a 13b looks like from the behind.
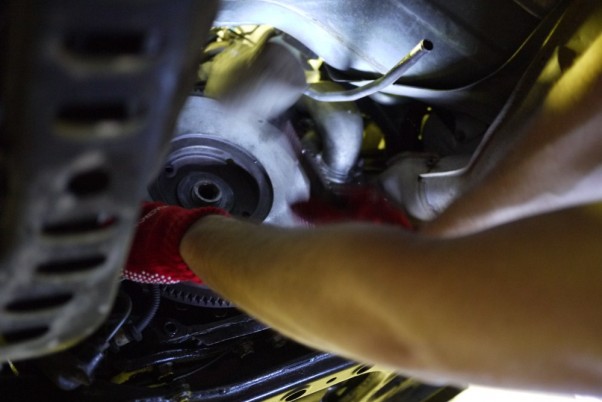
No flywheel bolts here! Just one big MOFO luck nut!
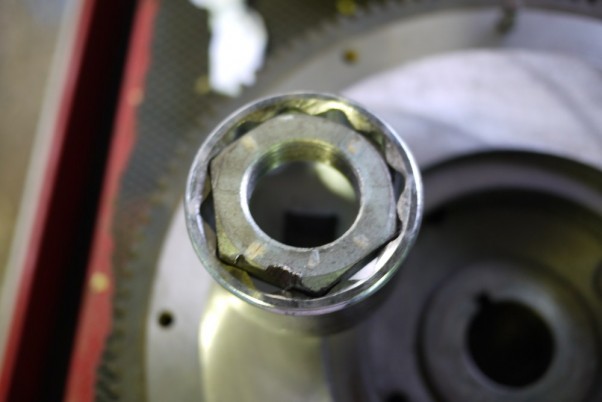
Start with hand tight, then work up to a ratchet.
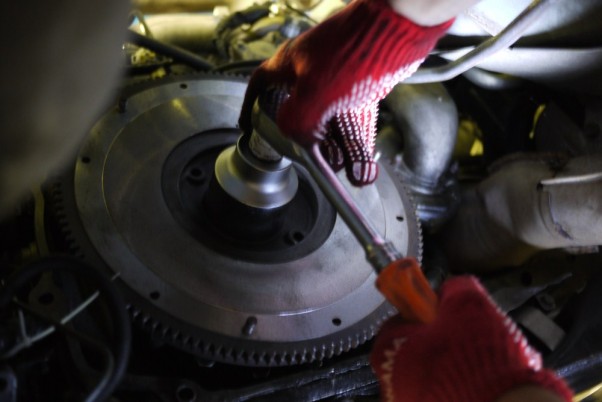
And finish with a rattle gun. LIKE A BOSS!
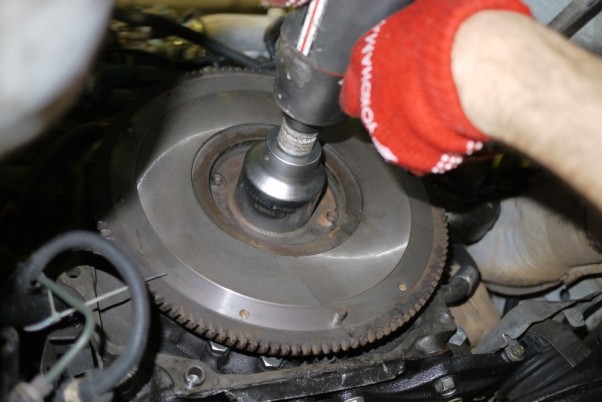
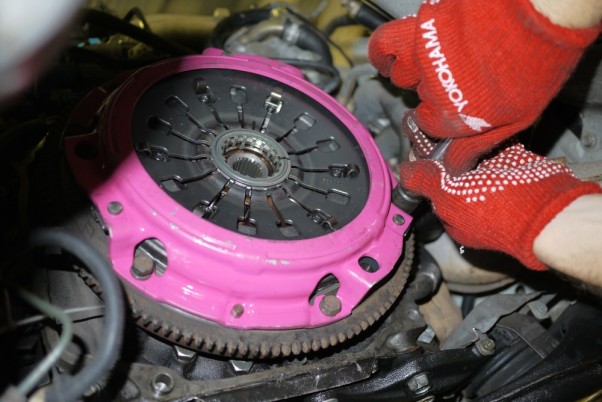
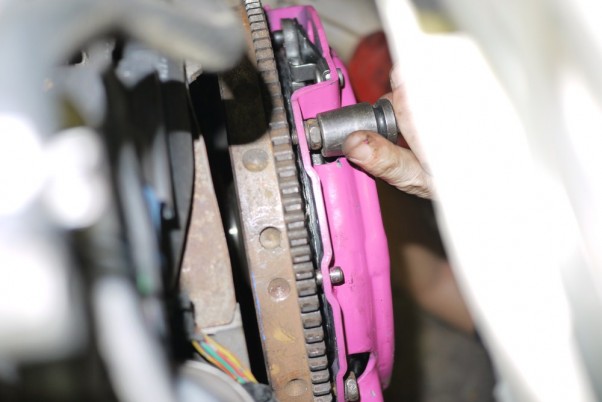
Pressure plate and clutch disc goes back on. We hand tights the bolts and use an alignment tool to center the spline before tightening the bolts to spec.
All done! Next update: the gearbox get re-installed. For now is a well deserve cold beer!
Links:
http://www.exedy.com.au

